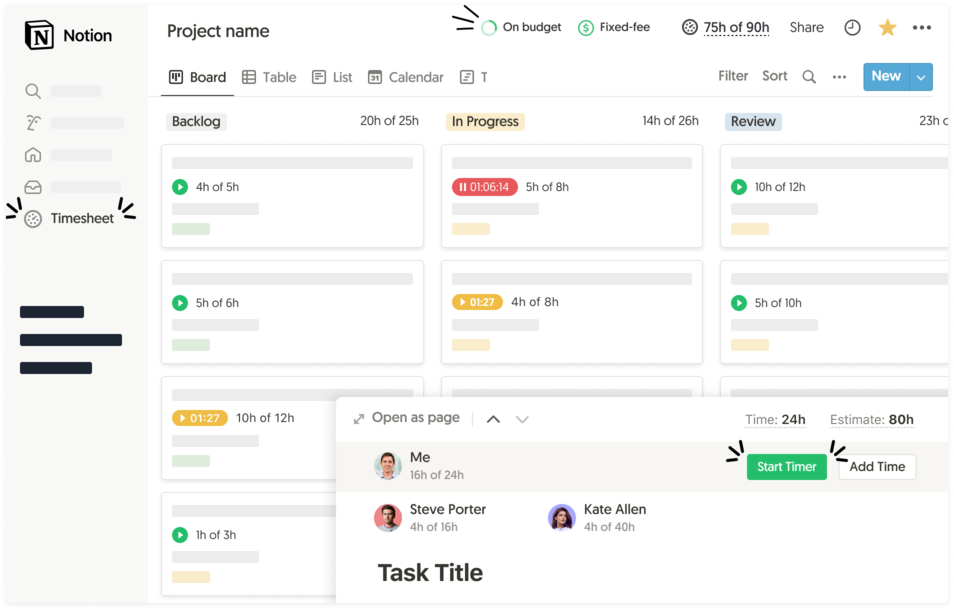
Everhour integrates with Notion to
supercharge your project
management
Time tracking, timesheets, billing, budgeting, detailed reporting, and more.
How does Everhour integrate with Notion?
After you successfully connected Everhour and Notion, there are multiple
useful features you can start using directly in your Notion interface
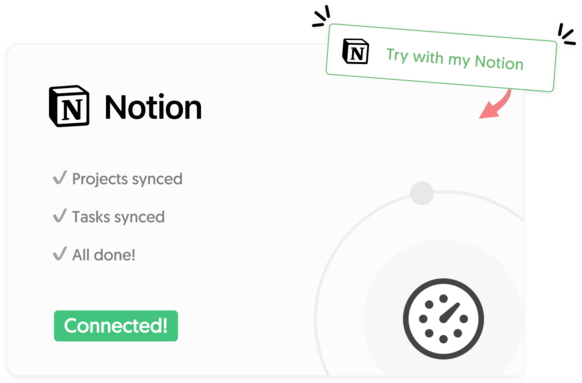
Simple setup
No need for manual configuration or copying projects and tasks. The setup is fully automatic and takes only a few minutes.
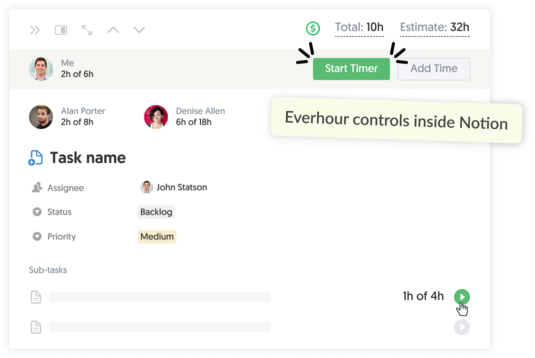
Works within Notion
Controls appear directly in the Notion interface, so there’s no need to introduce a new tool to your team.
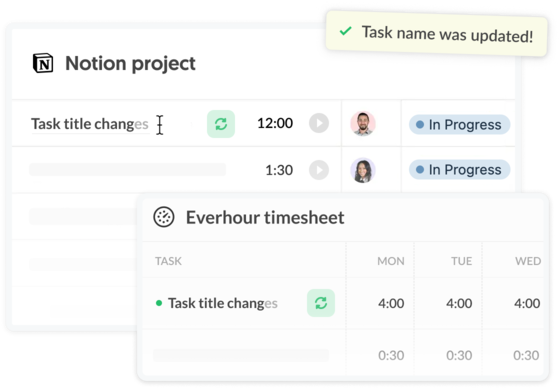
Regular sync
We automatically sync changes made in Notion, such as project names, task titles, new tags, ensuring your Everhour reports and timesheets are always accurate and up to date.
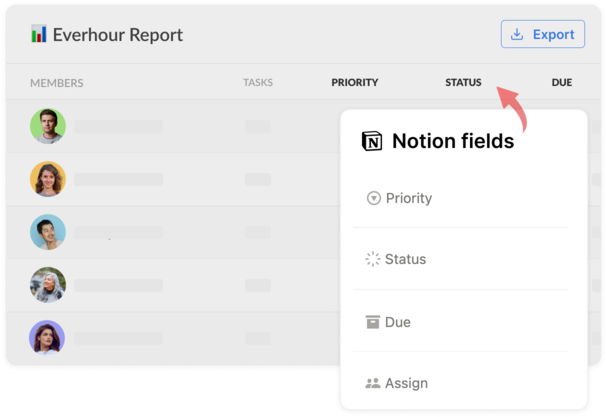
Custom reports
Create detailed time reports in Everhour with Notion data, including custom fields, providing deeper insights tailored to your project needs.
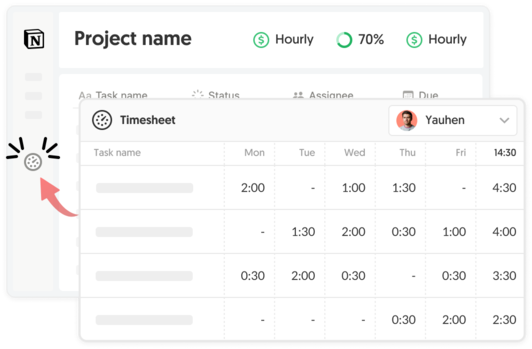
My timesheet button
Easily view your time entries for a day or week, start timers, or add time and comments to tasks—all within Notion.
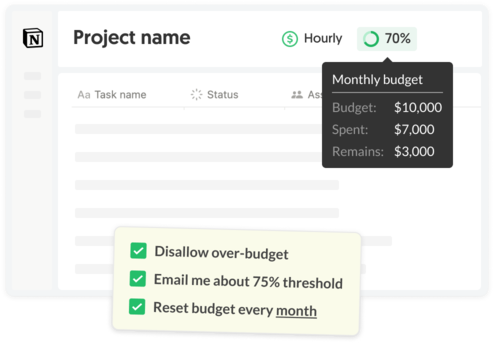
Project budget
Set billing methods—hourly, fixed fee, or non-billable—and establish budget limits. Receive email alerts when you approach budget thresholds.
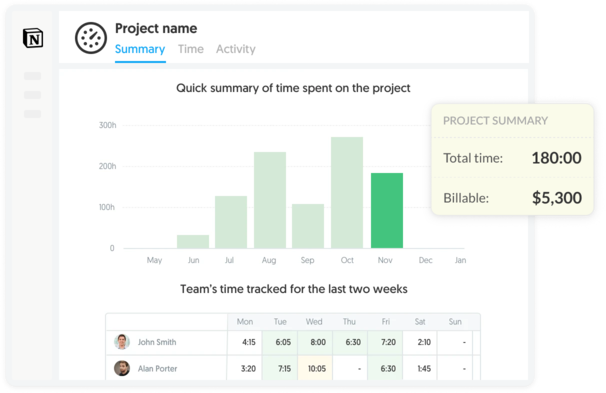
Project summary
Access a detailed project summary within Notion, showing time spent, budget usage, and billable vs. non-billable hours in one place.
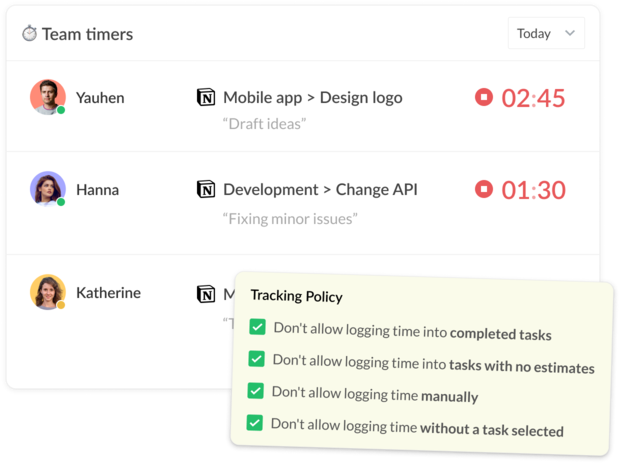
Real-time progress
Monitor who is working on what in real-time without disrupting the team’s workflow.
Time tracking is a part of a bigger thing
Get more from your business with Everhour + Notion integration
Questions? We have answers
Here is a list of the most frequently asked questions.
Yes. Just sign up with Everhour and invite your team. The next step would be to install our browser extension. And that's it! Open your Notion and start tracking time.
After integration, Everhour embeds controls into the Notion interface and thus extends it with many useful features. You can keep tracking time from Notion, through the Everhour website or browser extension.
No problem. You can invite and pay only for those Notion users who are going to track time and use other Everhour features.
Only those people who are a part of your Everhour team and installed our free browser extension can see time-related data in Notion.
Unfortunately, it is not possible due to technical reasons. Only folks at Notion can decide to integrate with Everhour. Other time trackers can't do this either.
What our lovely customers
are saying
“I am the owner of the company, and I use Everhour for timekeeping of myself and my subcontractors. All team members use the system - from web developers to tech support to project management to design.”
— Jennifer H. (Source: TrustRadius)
“We are using Everhour as a core business software, because our business is to sell our time. When you use such software, what you care about the most is speed, flexibility, ability to integrate with all major project management software. And Everhour is exactly that kind of software”
— Ivan M. (Source: G2Crowd)
“Everhour’s integration with Asana is wonderful for a remote team. We track all activities in Asana, but before Everhour I often wondered how long it was taking to do a task, now I know exactly. I can see who is working right now and a summary each day”.
— Doug H. (Source: G2Crowd)
“Everhour is being used by my department now, but it’s planned to be used across the whole company. We were having problems tracking the times of every project and Everhour ended up being the best solution to the issue. We’re tracking our tasks involved in every project, in every level (software development, meetings, project management, etc.)”
— Maria Lucia S. (Source: TrustRadius)
“We are a 15 people team working remotely from different cities of Latin America and Europe, and time tracking for each client, project, and task has always been a major issue. We’ve been using Everhour for the past year or so, and it has become an essential tool for our team. It does not only give us the ability to track how much time we have dedicated to a project but also to estimate how much time a particular task will need in order to be completed next time and by who. Easily create and save reports with just a few clicks”
— Daniel Y. (Source: TrustRadius)
“Everhour helps me manage/plan my weekly activities a lot more effectively, since I know how much time I have to work on things each day, and can quickly update estimated times to reallocate tasks as needed.”
— Dan S. (Source: Capterra)
“The most important gain from using Everhour is that we can track our tasks in real-time without having to leave the browser. The Chrome add-on helps us initiate the time for a specific task. If we are already on Asana, a simple click does the job.”
— Dimitris R. (Source: Capterra)
“Everhour has already paid for itself for the year by helping me track time I was missing in client projects. It is easy to use, has friendly customer service people, and the reports make it easy to invoice clients and track projects.”
— Jennifer D. (Source: TrustRadius)
